

Ink & Lumber: A Modern Shelving DIY

")

It all started when I caught an Instagram story from Charlee at Build and Create Home (link below)- she made shelves from 2×4 material and I thought it was so cool! I loved the idea because it was so simple and clean. I also wanted to have some shelving in our living room, and we didn’t want to spend a ton of money on the materials, yet we wanted something that was all our own and that we created together. We had been looking at IKEA at the IVAR shelving, but we love unique items and something off-the-shelf just didn’t fit the bill.
There it began…
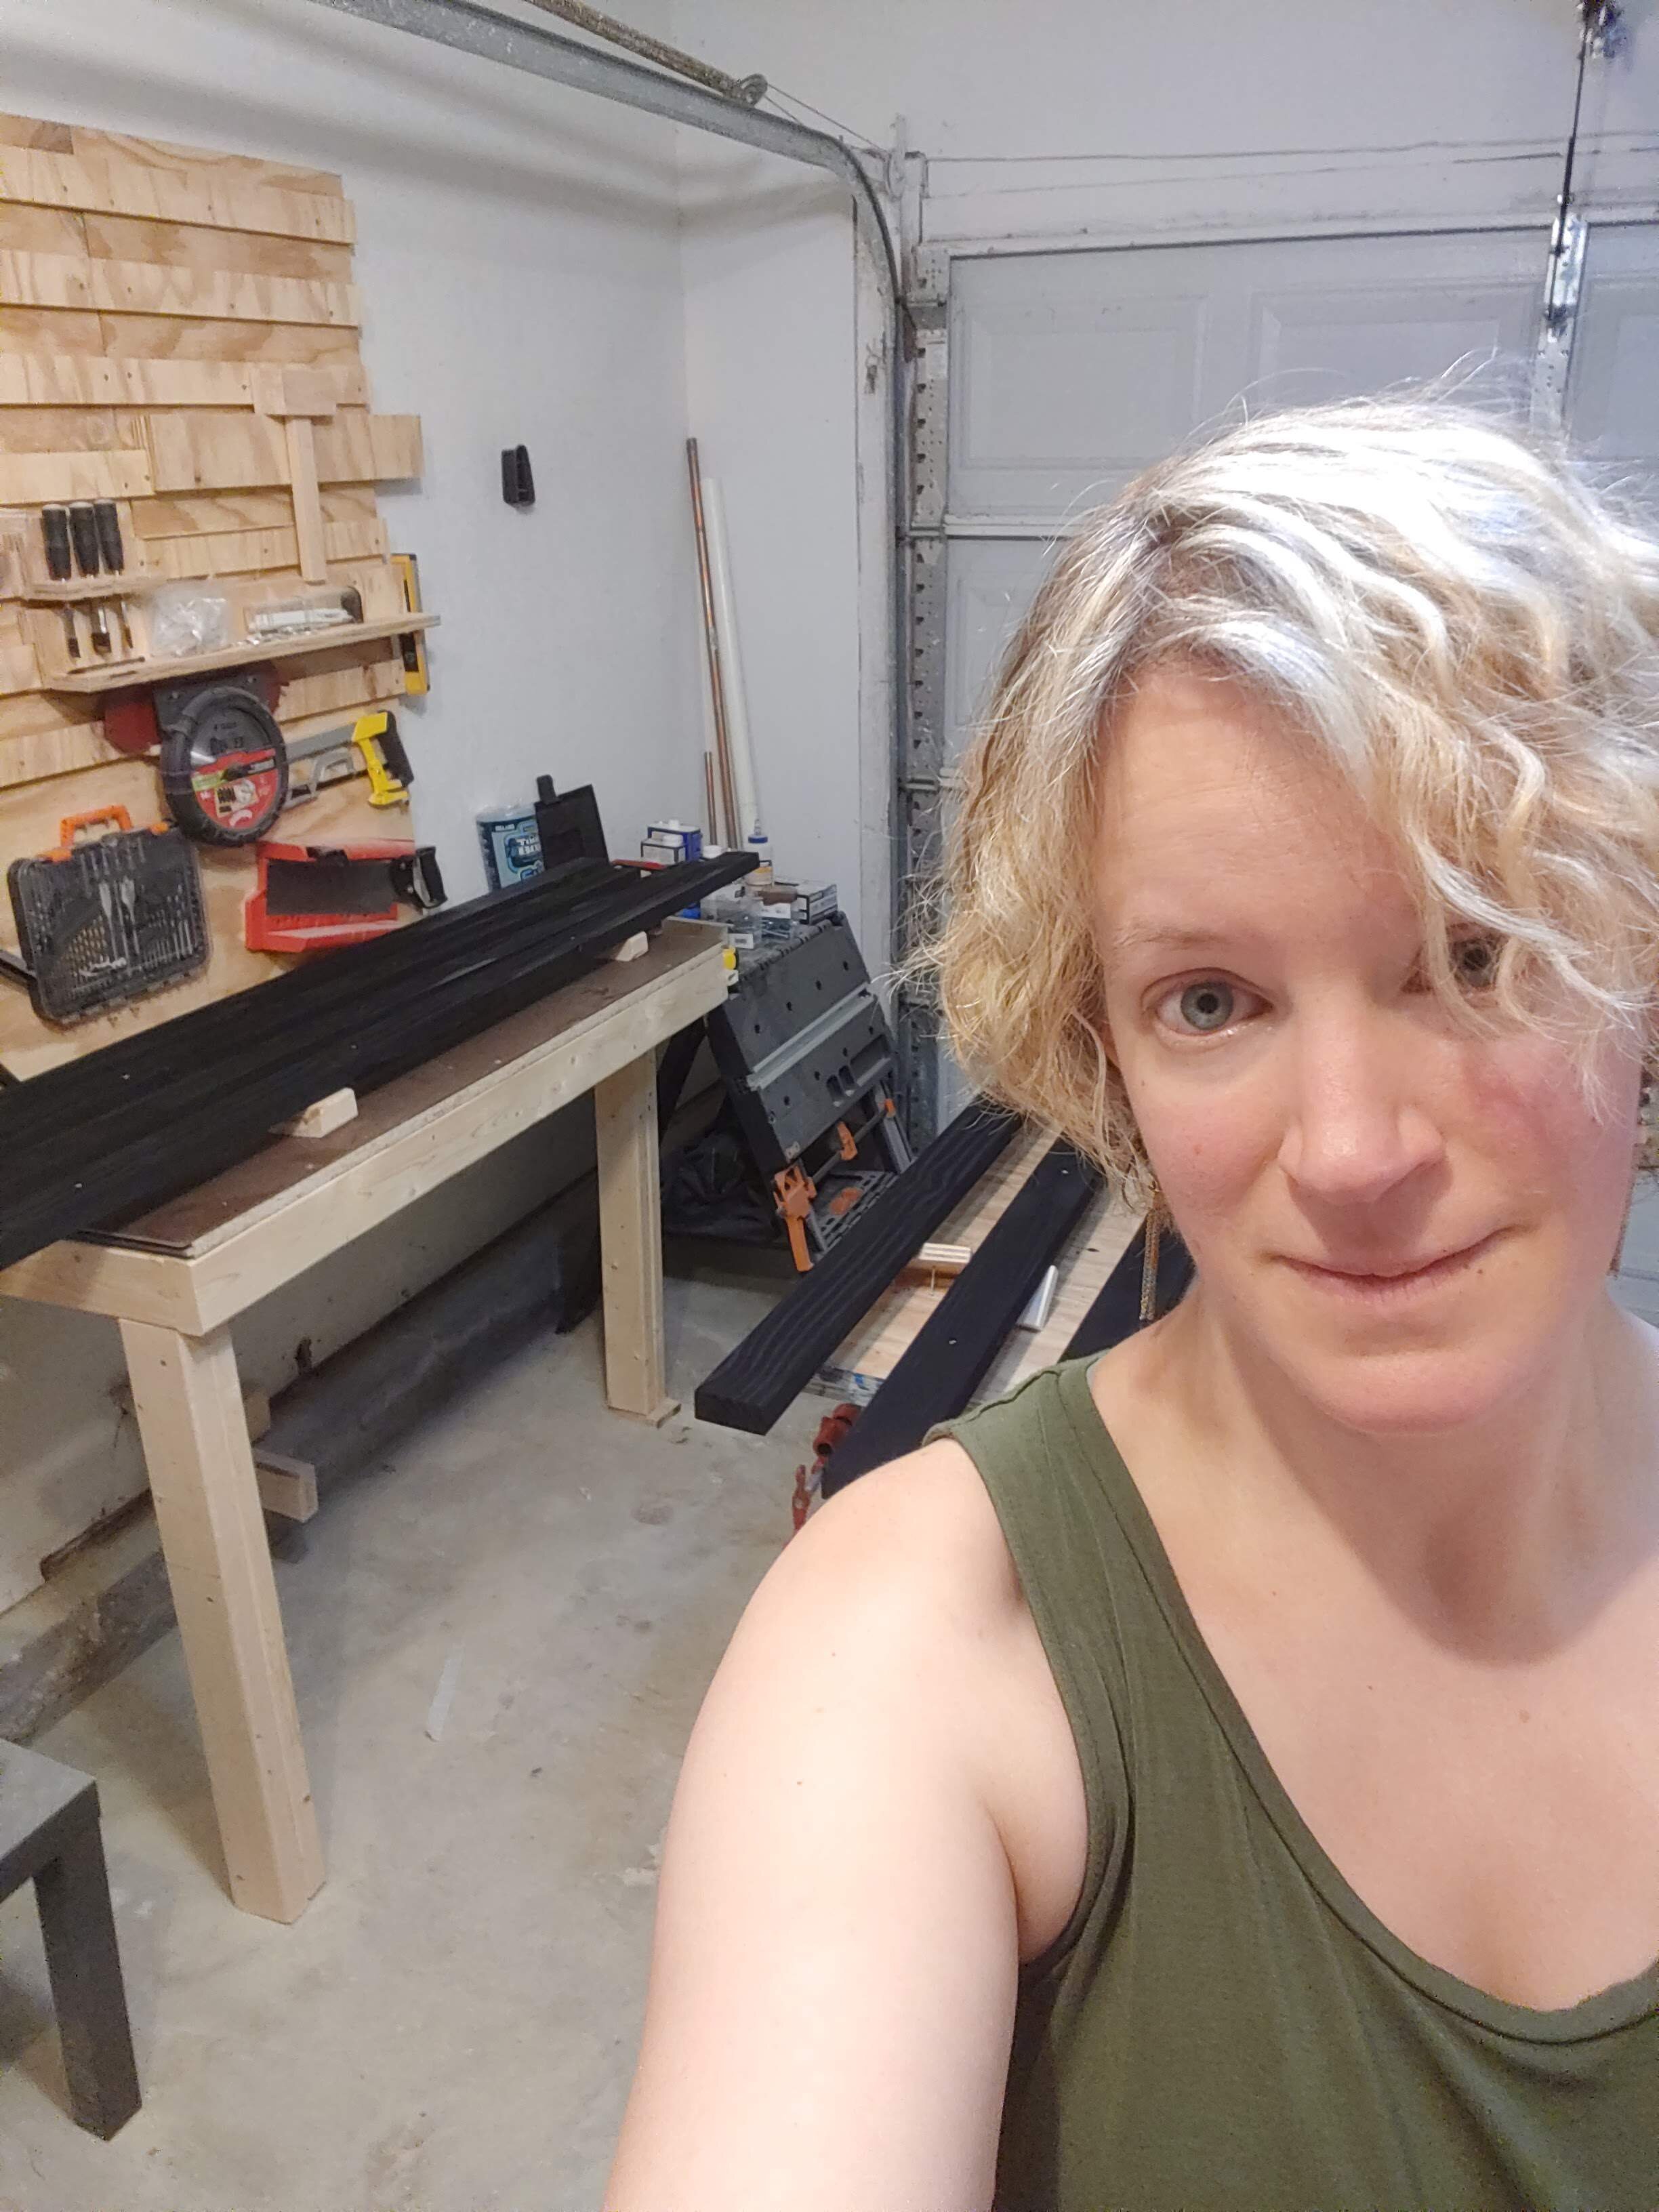
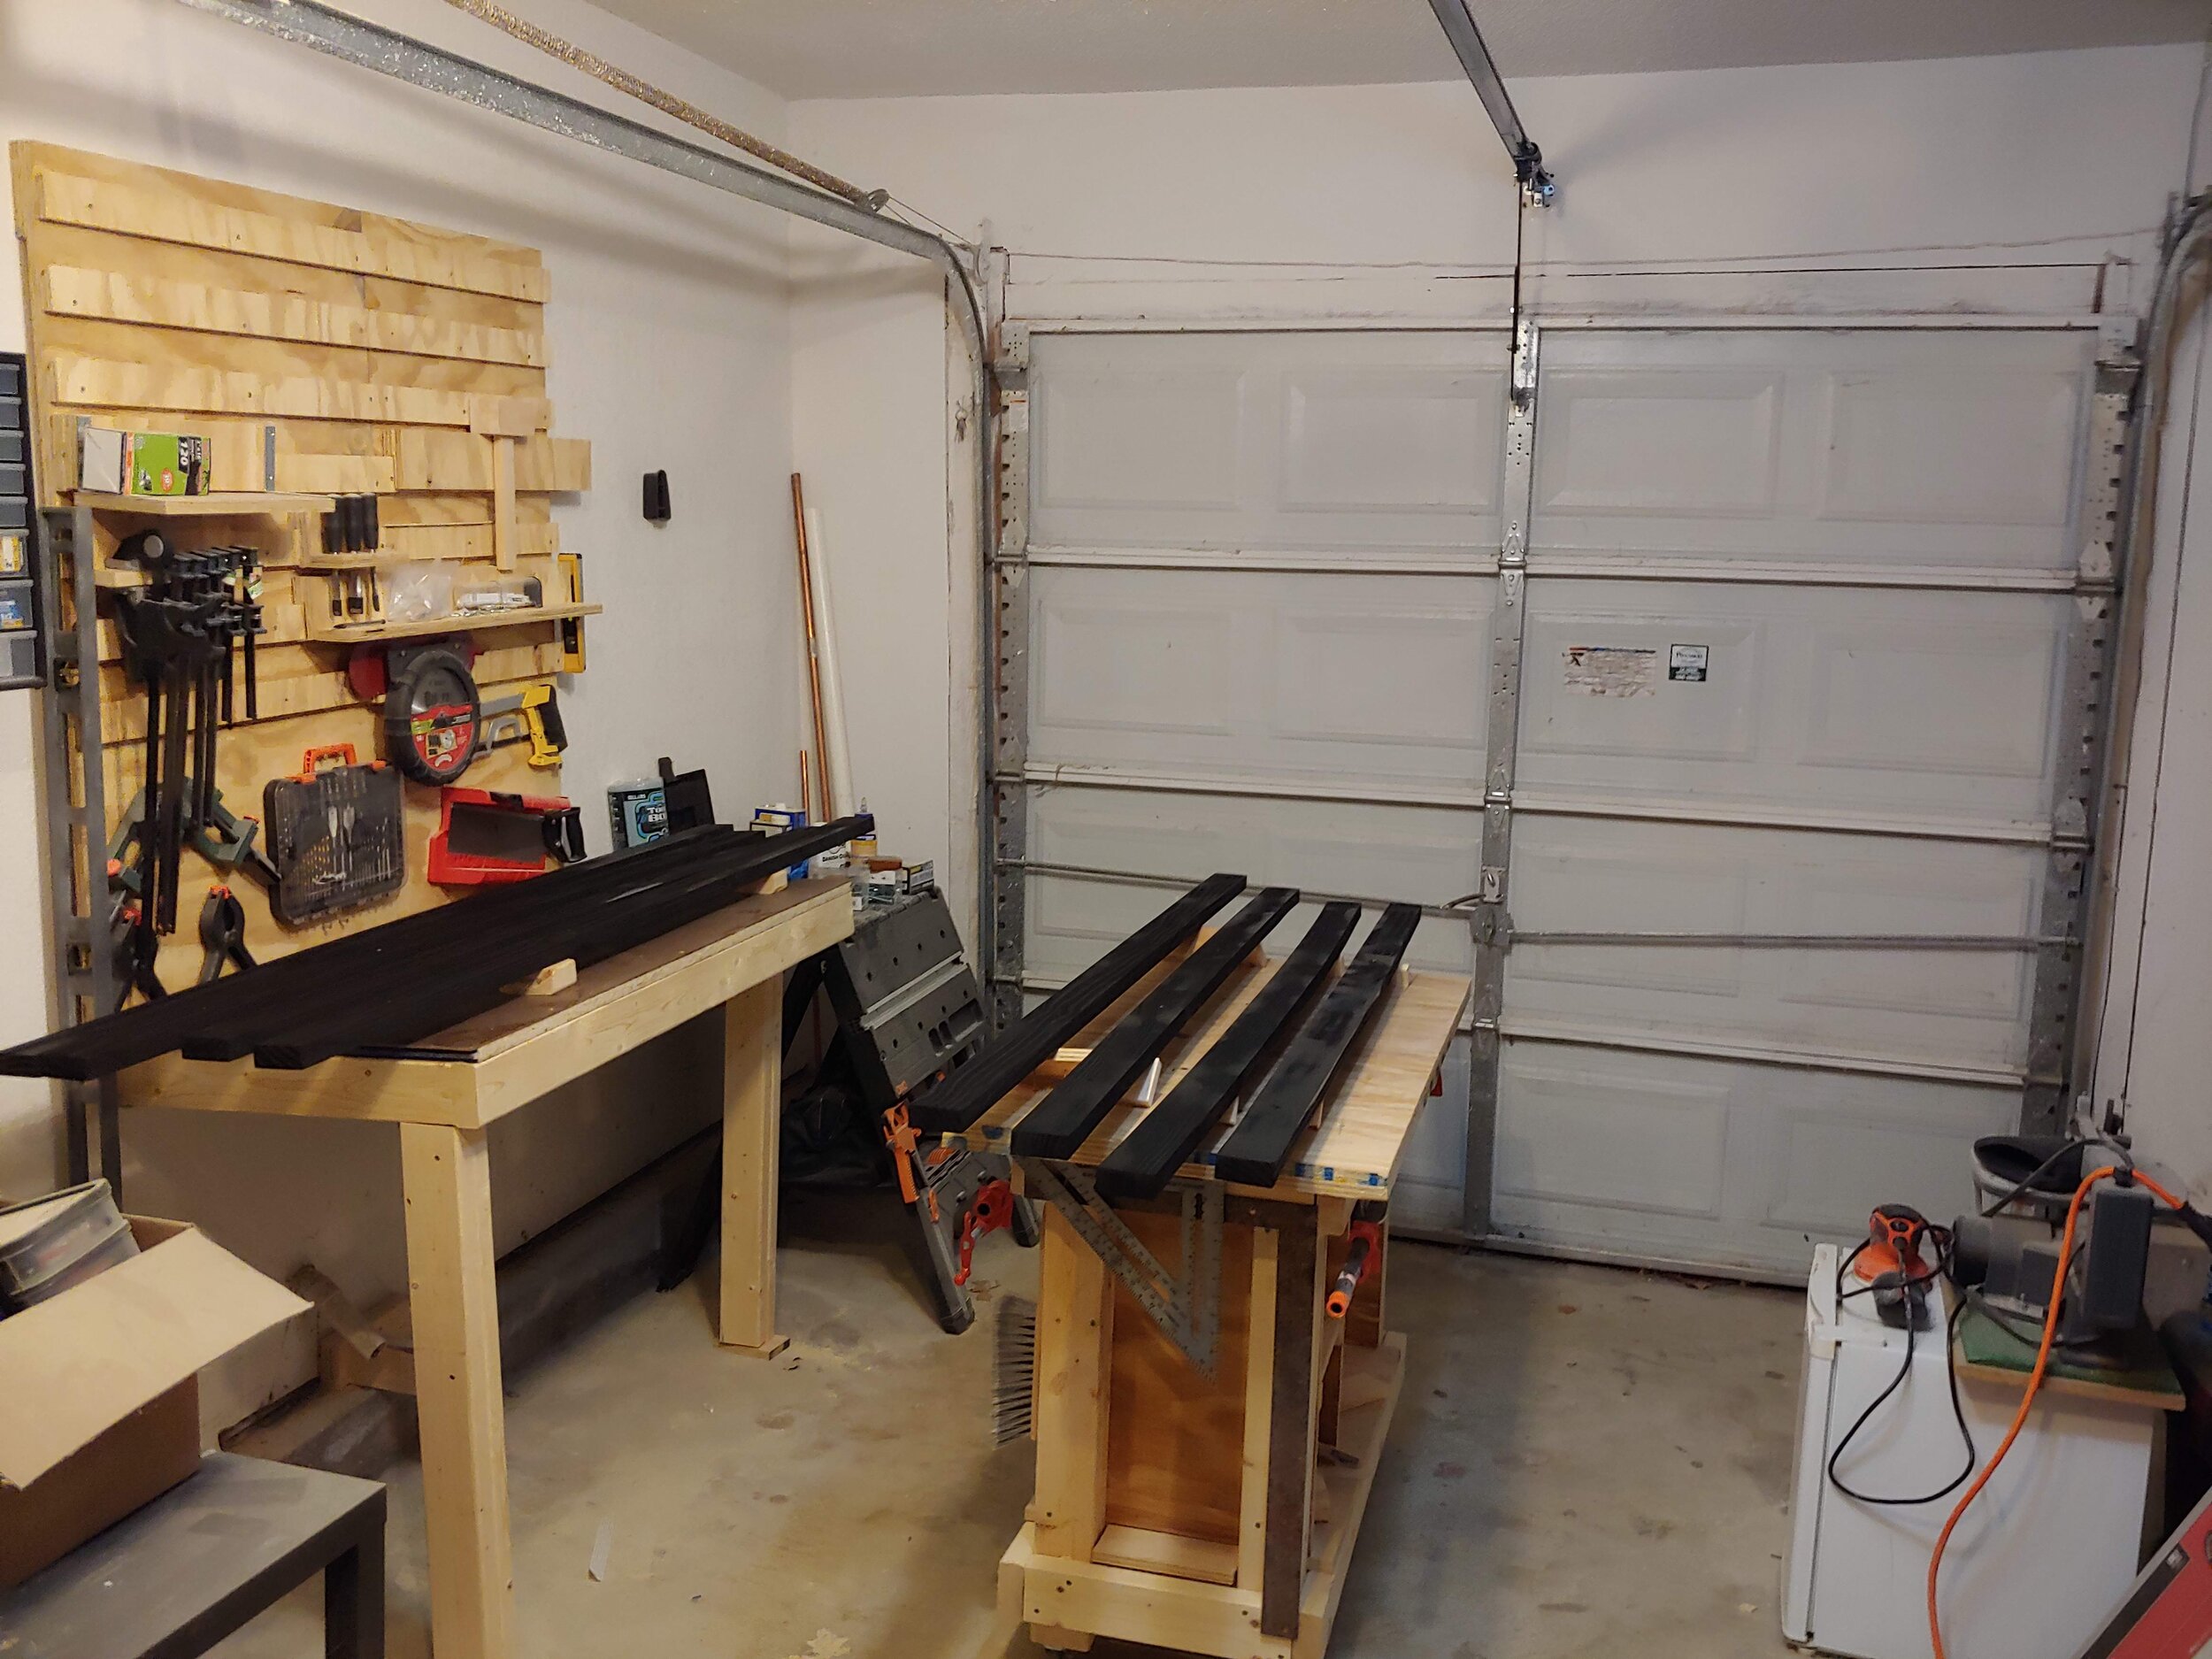
We carted the kids off to Lowe’s with us and bought a LOT of lumber. Using 2×8’s, we came up with the dimensions for the look we wanted to achieve and got to work. My husband created the cut list using SketchUp. We began by cutting and trimming our 2×8’s down to width, while trimming off the rounded over edges. This is where we made a HUGE mess because we didn’t yet have our dust collector setup. We made a mountain of sawdust underneath the table saw. Now, I know I just mentioned that we didn’t have our dust collector yet, but we also ran out of filters for the shop-vac which was not the greatest, but it was ok. Then the motor overheated on it. Enter: sawdust everywhere. That took us two days to clean up during which time we were committed to getting a dust collection system of some kind, so we didn’t have to cleanup to this degree again.
Then came the sanding, and LOTS of it. We traveled the grits from 50, all the way to 240. It’s a lot of work, but so satisfying. My favorite part? No one can talk to me while I’m sanding. It’s like when I’m painting, but with painting I have headphones on, and I can hear if someone is talking to me. After an initial sanding with the 50 grit of the long bracket pieces, the rest of the sanding was done by yours truly. That means I had lots of time to listen to the hum of the sander and swipe my way into some nice smooth boards and prepare them for finishing.
Prior to finishing, we drilled all the pocket holes using our new Kreg jig. I don’t think we’ve ever been so excited about a new tool, as we were with the pocket hole jig. It’s kind of a big deal. This allowed us to secure our pieces together without much visible hardware (aside from the bolts where the brackets are secured to the wall). Keeping the pieces secure was our number one priority, especially since there was no glue-up associated with this project.
Now, for the finishing: the first round, anyhow.
My husband set up a drying apparatus consisting of a long scrap piece with 20 nails on it since we had 20 short pieces prior to assembly. We clamped that to the center post in the garage and used it to hang the pieces to dry after I coated them with India ink. This was no small job! It took hours to complete, but it was so satisfying to watch the pieces transform before my eyes. I’d never worked with such a runny medium before, but I used a foam brush for application and a plastic cup to dip my brush in to minimize any waste. Face it, since this product is quite runny, there WILL be waste, but you can minimize that by staying close to the piece you’re working with. I also laid plastic down over my work area to make cleanup a breeze.
So where in the world did the idea to use India ink come from? We watched some YouTube videos that were a collaboration project between a few of our favorites and we were captivated by the idea of using something unconventional to make a truly unique product (I’ll link the video below). I was set on it, and there was NO way my husband was talking me out of it. We used a total of 3 bottles of India ink for this project, which is less than the amount of Danish oil we needed!
I coated the pieces in ink in one evening, and after that I was TIRED! It was so much work, but I knew the reward was coming, so it kept me motivated. We let them dry overnight and returned to begin the final finishing process with Danish oil the next day. Danish oil requires several coats, lots of fresh air and time to cure. Once cured over the India ink, we had a slightly shimmery finish with lots of dimension! Glorious, right!? I certainly think so.
Having done a “dry run” with the making of the media cabinet prior to the making of the brackets, we knew what hardware we needed to make securing them to the wall easier. We can rest assured that our littlest climber could climb on these without the whole thing coming down. Let’s hope that doesn’t happen though, he can find plenty trouble as it is. We measured and marked where all the holes needed to be drilled and set to making our strategic holes in the wall. To make it easier, we labeled our brackets for placement and our daughter helped hold the bolts. It was as adorable as it sounds-she’s quite a good helper.

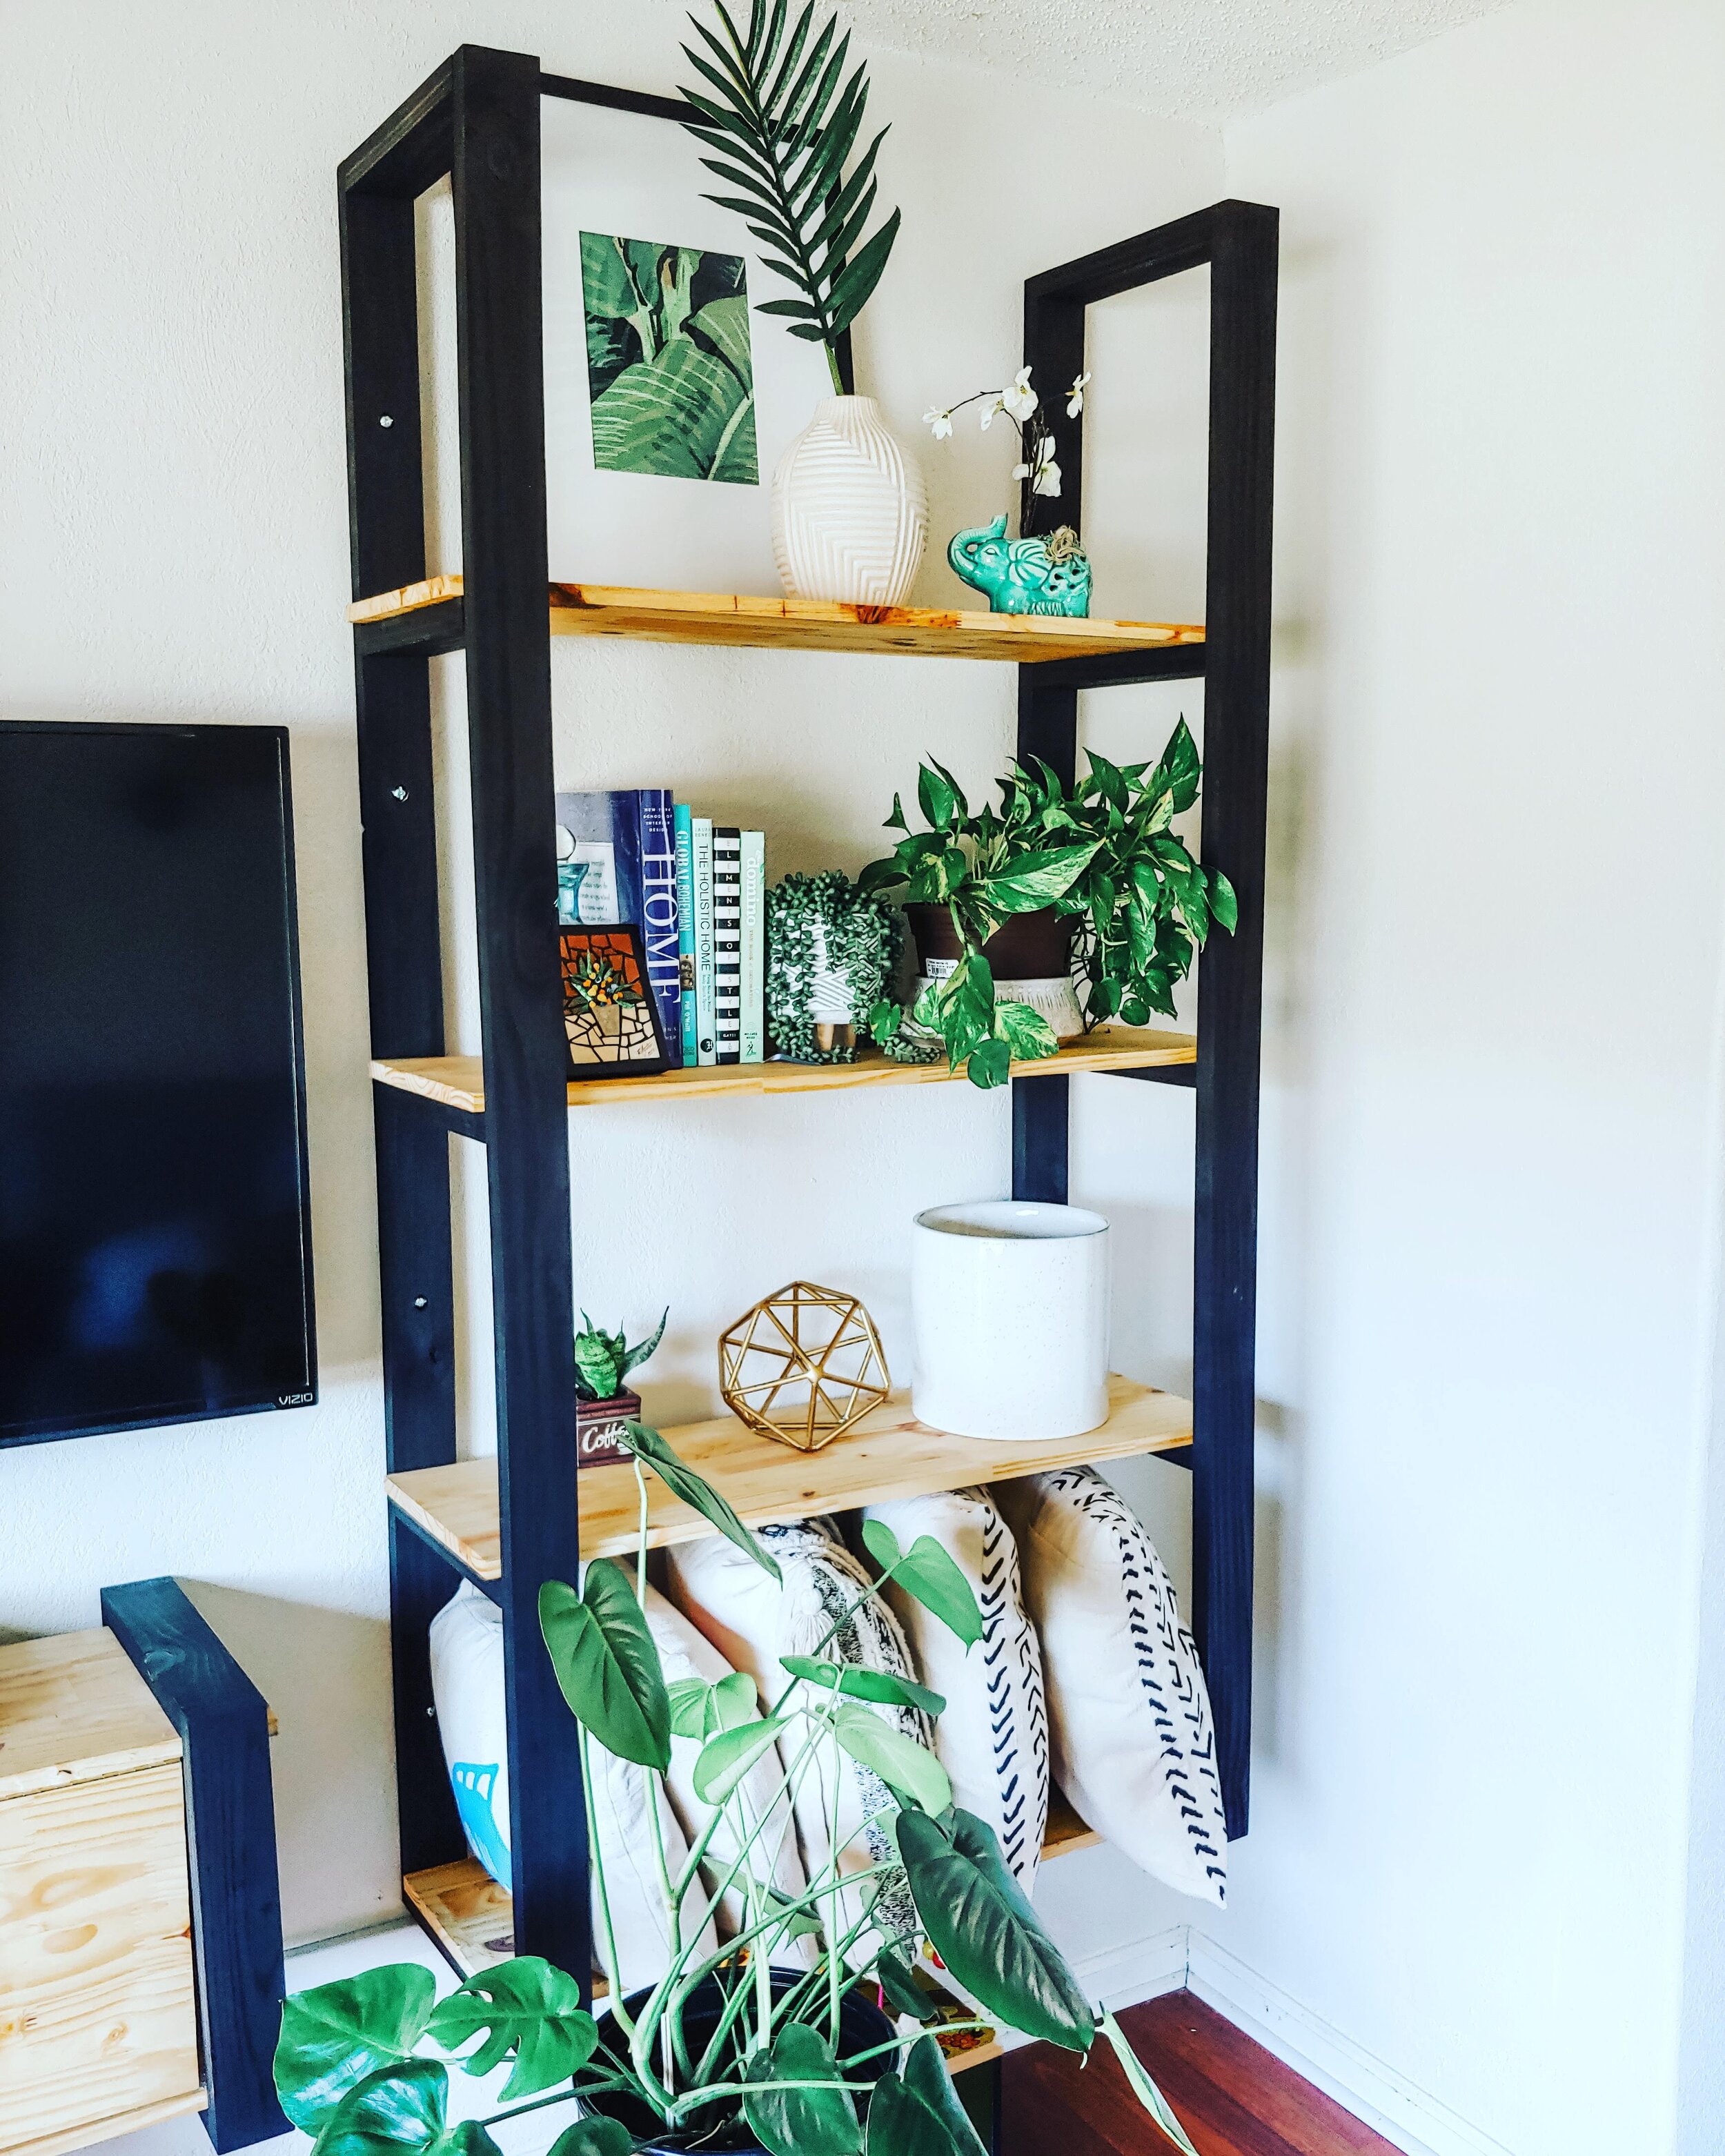

The brackets went up with ease and I love the contrast and depth of the brackets against the peaceful white wall color (the actual color is Aesthetic White if you’re curious). The material we used for the actual shelves are project panels. We chose not to sand these since it’s likely they will see some wear and tear from life with toddlers and toys, and we can easily replace them after finishing the surface with Danish oil. We simply placed these in and voila!
So, what’s my favorite part about this project? I’m glad you asked! I now have room for many more plants! I have found that caring for my plants is a hobby I greatly enjoy. It all started with my first Majesty Palm and now I have about 15 plants. My daughter’s reward for potty training was a variegated ivy. She knows the names of all my plants and helps me care for them. Pretty sweet, huh?
What should we make next?? Tell me in the comments below!
Until then, see ya next time!
CHEERS!

Not sure where to start?
Get Catherine's complimentary home tips here!

build your furniture investment: the workbook
SHop Our favorite Collections online
how to combine textures for a balanced home

For more of our latest projects, follow along on instagram at @peacockanddahlia
©Peacock & Dahlia 2025 | design by tonic + Sophia STudio | photos by Sophia Studio + Elevae
Intentional Design for Soulful Spaces
virginia beach, va


[…] and removed the ladder shelves we DIY’d over two years ago (you can check out the blog post here) in favor of a blank canvas for adding inspiring artwork and family photos. The resulting lighting […]