

spring one room challenge: the flooring demo & install

")

HELLO AGAIN HOME LOVERS! I’M BACK WITH AN UPDATE ON THIS WEEK’S PROGRESS ON THE KITCHEN RENOVATION PROJECT.
We are closing in and making a lot of progress toward bringing new life into this kitchen!
CATCH UP ON THE LAST FOUR WEEKS HERE:
WEEK 1 | WEEK 2 | WEEK 3 | WEEK 4 |week 5 | week 6
So. Much. Mess.
Can you believe we are in Week 7!? We are so close to wrapping up this beauty of a kitchen.
As I’m writing this, I can feel every muscle in my body and the soreness from installing the flooring. I was constantly getting up to go and make a cut with the miter saw, or the jigsaw, swinging my arms to my side with a fresh plank, or opening boxes to mix up the pieces. You know the best part, though? The satisfaction that I did a large amount of it by myself and I was completely in my element. It was like moving meditation. I love the get down and dirty process of making a space your own. It makes the end result that much better.

We removed the remaining drawer fronts from the doors and we were left with what I’m calling a “naked kitchen”. It was nice to see a relatively blank slate to envision my new drawer fronts and hardware in place.
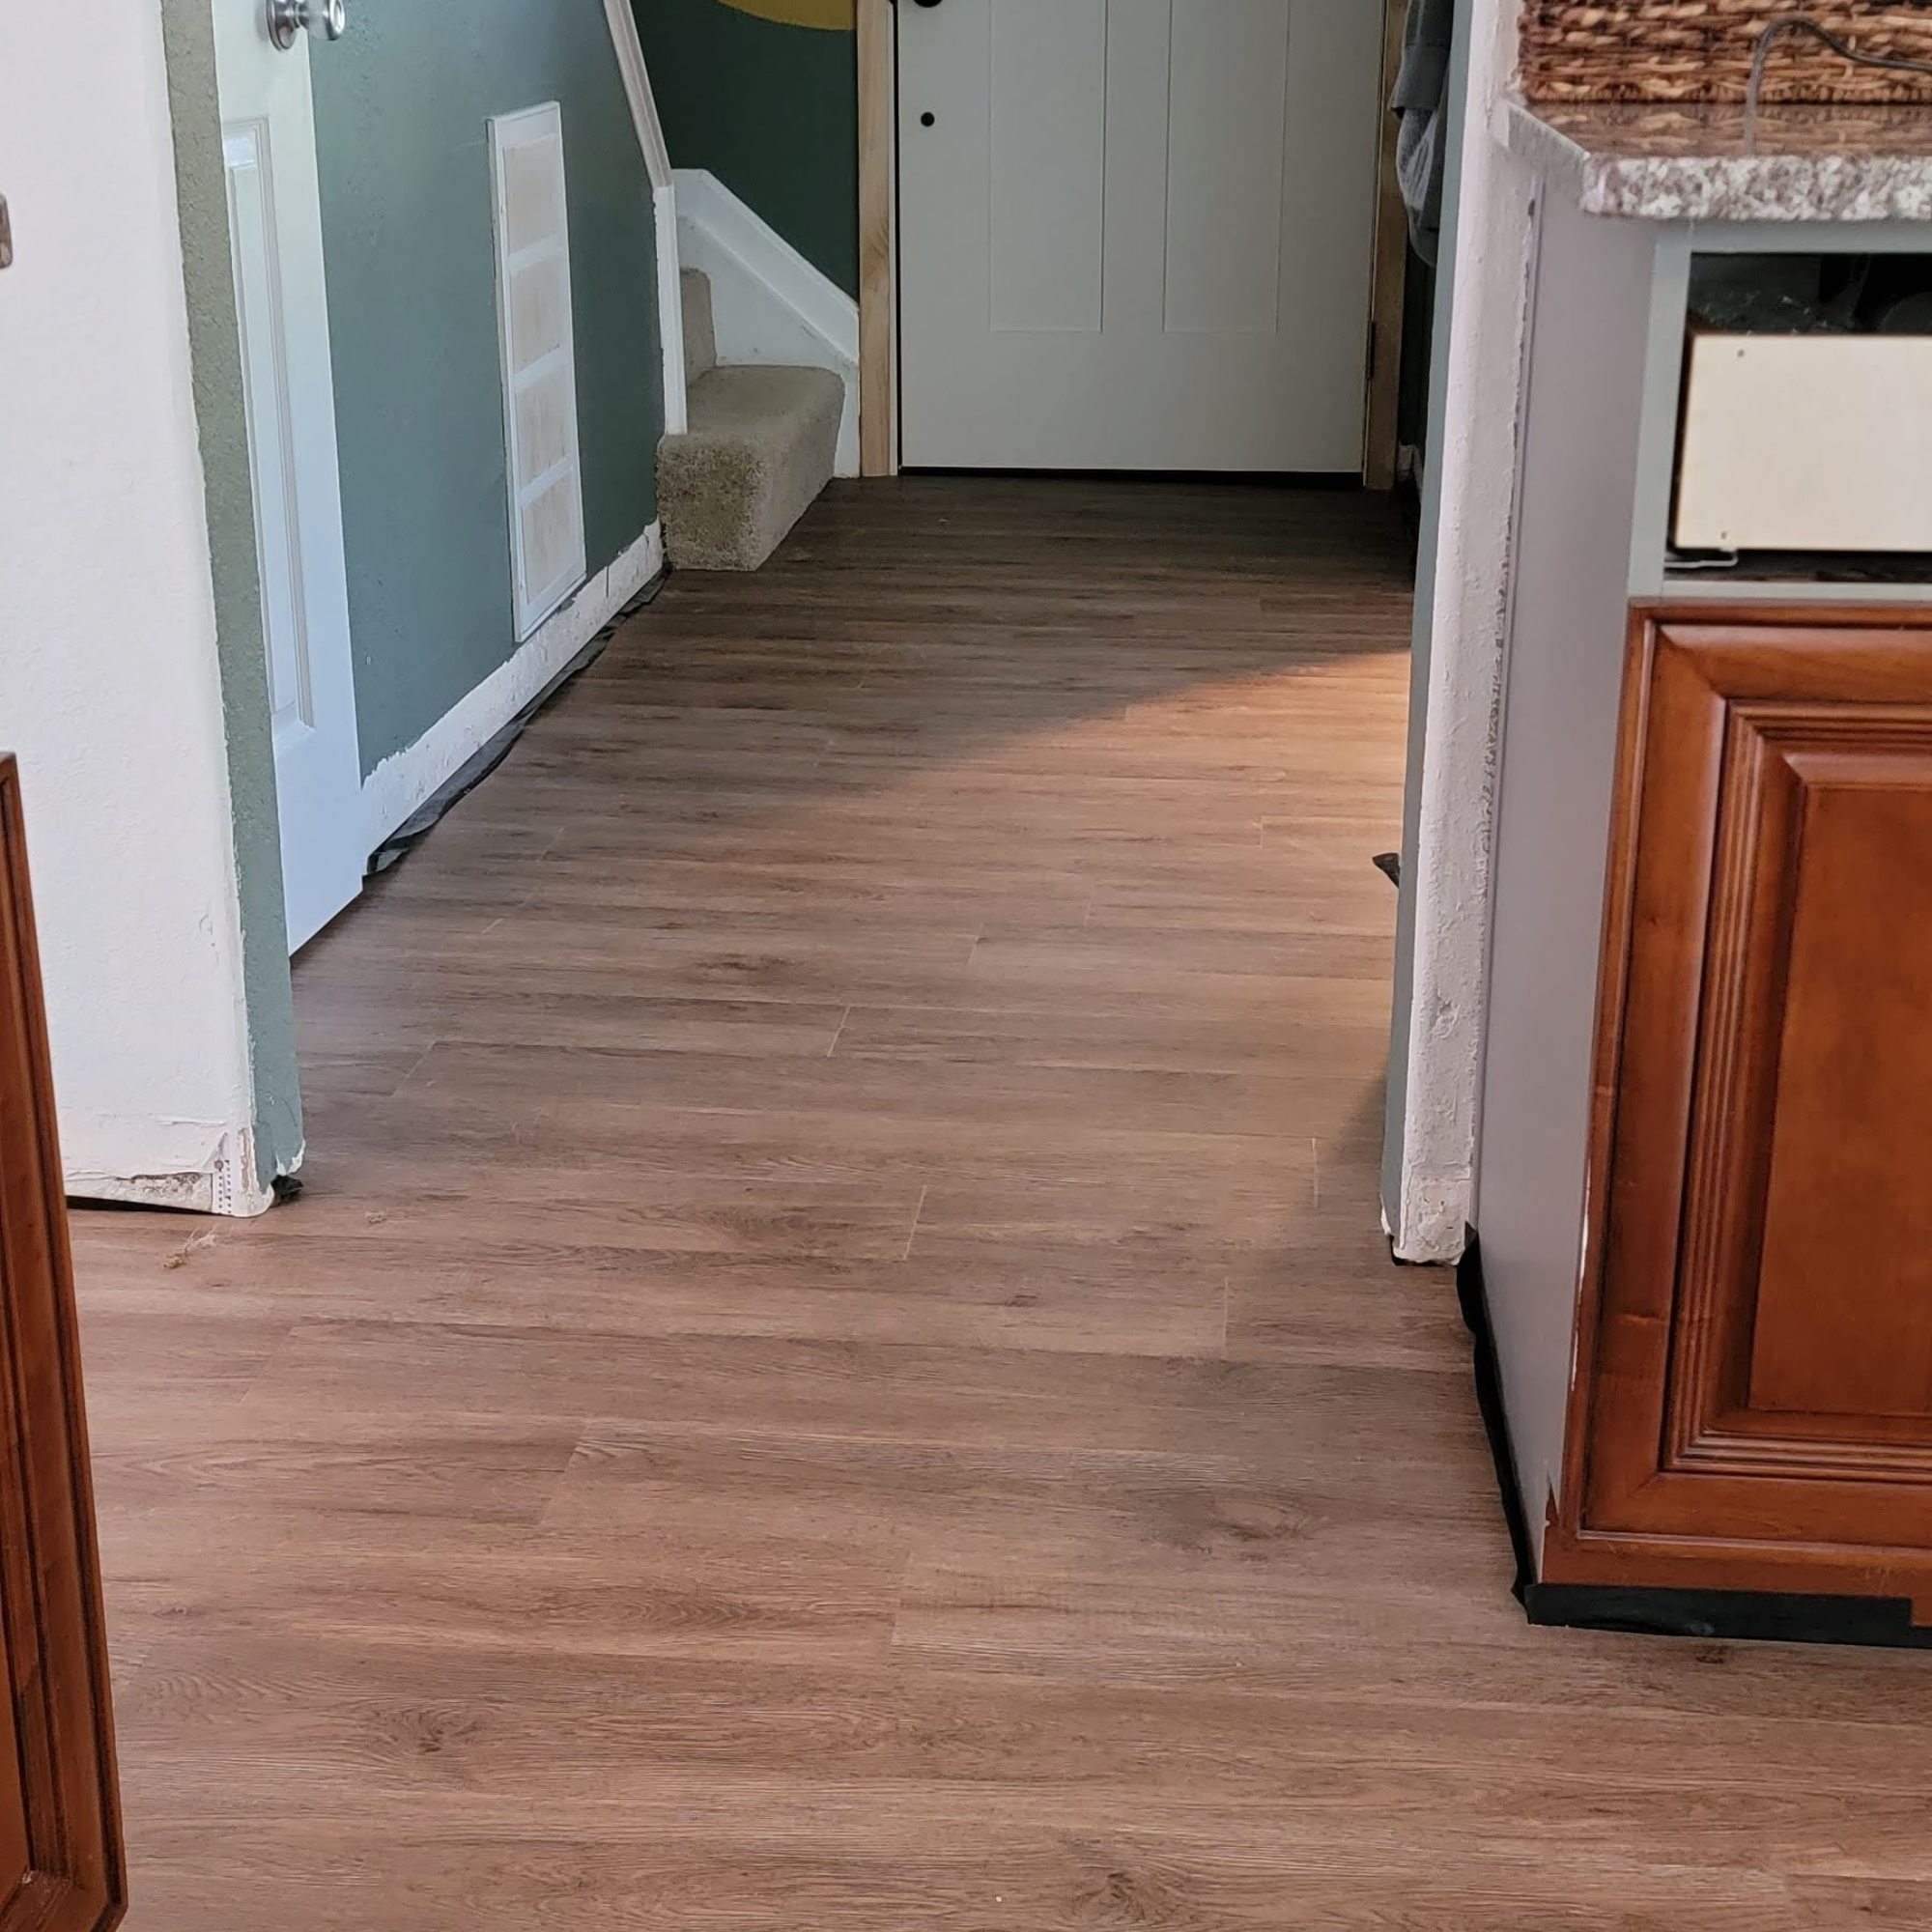
Let’s talk about the flooring install…
Over the past weekend, we were able to begin replacing the flooring strip-by-strip. Beginning in the entry (since the flooring in the entryway and kitchen was the same) and ending early this week at the sliding door in the back corner of the kitchen. Installing the floor wasn’t difficult, but there were several steps we needed to take in order to achieve a good and clean finish.
Firstly, you’ll want to be sure that the flooring you are removing is safe to do so. Some older homes may have flooring that contains materials that we now know better than to use (asbestos, for example), and removal should be done by a qualified and trained professional. We knew that our flooring was relatively new and was installed by the previous owner so we were in the clear. The material we were removing was a thick and rubber-like vinyl that was installed in one continuous sheet. We removed the existing vinyl flooring in strips that we cut with a utility knife and rolled them up for easy disposal and better manageability. I just realized that I didn’t take any pictures of the flooring underneath (just the subfloor with some glue remnants) because we were just that busy cutting, ripping, and hauling the old out.
Between the gripping and pulling of the vinyl flooring we had to remove, and the placement of the new flooring, we got a great workout in. Working in sections as we did, we were better able to plan and stop working when needed. When we ripped up a section of the old flooring, we cleaned and swept before continuing and placing the vapor barrier. Working as a team, one of us would make the necessary cuts while the other prepared for the next piece (s). Once we got into the kitchen, it was fairly smooth sailing and I was able to finish the rest of the kitchen in a day on my own. To say that I enjoyed that would be a major understatement. It was like moving meditation.
I know I mentioned this last week, but it bears repeating:
“I’ve been dreaming of updating this kitchen for the better part of three years now, and to see it come to life with my own hands doing the work has been immensely satisfying. It’s what I love, after all. Creating spaces that bring joy are what it’s all about, and every little detail is what I see – bringing in all the pieces to create a peaceful and transformative home.”
Throughout this project, I have delved deeper into a healing segment of my life and rediscovered joys that I had left on the shelf for a while. I have poured my heart and soul into this project, and it shows. Everything I make has a living and breathing energy to it – I’m looking forward to exploring that more.

“What? You mean you’re not done yet? – Rambo
We are SO close to the finish line! After the toe kick is painted, we’ll install the quarter round and trim at the base of the cabinets and I might have narrowed down my choices for a backsplash, but don’t hold me to that!
We also installed the gorgeous new light fixture this week as well and I can’t wait to show you in the REVEAL!!
For the remainder of the week, I’ll be working on the drawer fronts and cabinet doors. Once those are cut, I’ll sand the rough edges, apply the primer and then two coats of paint! *Pro tip – if the paint is still curing a bit, then wear gloves during the install so they can cure in place if needed.
TLDR? Here’s a few updates:
-remaining walls primed and painted
-removed all existing drawer fronts
-new light fixture for the main dining area delivered and installed
-prep done for the countertop removal (removal this weekend)
-new flooring install complete
-work to begin on the new cabinet doors and drawer fronts
-finalizing the design for the new dining table
-still looking for the perfect non-budget-breaking backsplash (that’s not basic)
THE BIG TO-DO LIST:
✅ removing the existing popcorn ceiling
⬜ placing a new backsplash still looking for the “right” one and this will take weeks after countertop install
⬜ building a new dining table (original design)
⬜ making the cabinet doors & drawer fronts (hello table saw!) in process
⬜ attach hardware to new drawer fronts and cabinet doors
⬜ new countertop install install date 6/21!!!
✅ measure for templating of the new countertops
✅ level bar area to one level (demo done!)
✅ finalize new flooring selection
✅ remove existing flooring and replace
✅ priming and painting walls (after demo/leveling of the bar wall) (in process)
✅ determine bracket placement
✅ determine backsplash height
⬜ lumber for coffee bar shelf (local lumber yard) in process
✅brackets installed for floating shelves (✅right of sink area/⬜coffee bar area)
✅ replace light fixture (including the “b00b” one over the sink area)
✅ order new faucet
✅ replacing light fixtures (main dining area fixture ordered w/ estimated delivery mid-June)
⬜ replacing faucet & sink (placed when countertops are going in) waiting for countertop install
⬜ cleaning and painting vent covers to match walls
✅ remove upper cabinets to prime and paint walls and cabinets
✅ priming & painting cabinet boxes in process
✅ updating cabinet hardware new hardware ordered & received
⬜ replacing switch places and outlet covers
Check out some of the other awesome projects here on the ORC Blog page!

Catherine Perez
founder, Peacock + Dahlia Interiors

Previous Post
Next Post
Not sure where to start?
Get Catherine's complimentary home tips here!

build your furniture investment: the workbook
SHop Our favorite Collections online
how to combine textures for a balanced home

For more of our latest projects, follow along on instagram at @peacockanddahlia
©Peacock & Dahlia 2025 | design by tonic + Sophia STudio | photos by Sophia Studio + Elevae + NF Photography
Intentional Design for Soulful Spaces
virginia beach, va


+ Show / Hide Comments
Share to: