Entryway Reboot: Week 6 | One Room Challenge Spring 2020
We are nearing the end of the Challenge!!!
Whew! Last week was a doozy, huh? I think that was the hardest week yet, because you’re looking at your to-do list and letting out a scream. Or, at least I was. To be honest, this challenge has been just that- I wake up at 5am and sometimes my kids decide to wake up at 6am. That doesn’t leave a whole lot of wiggle room.
I had to make a few changes to the concept board after the fixture change, and paying close attention to the color of the rug I chose. One reviewer mentioned it was more blue, and that’s not really what I’m going for, so I switched it out for another. No big deal.
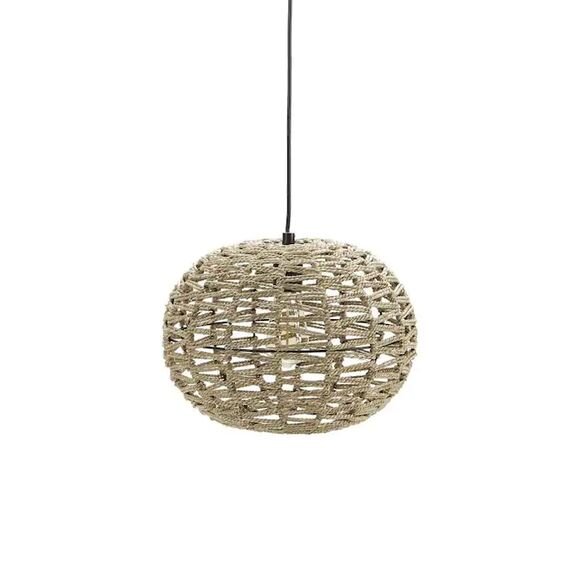
Let’s recap. The new lighting fixture should have arrived on May 26th. Then, I discover that the order was cancelled on the 29th! Ugh! Why?? I can’t wait to replace the dome fixture! The right lighting can make or break a room and I was so glad I had found this alternate piece.
Plan C.
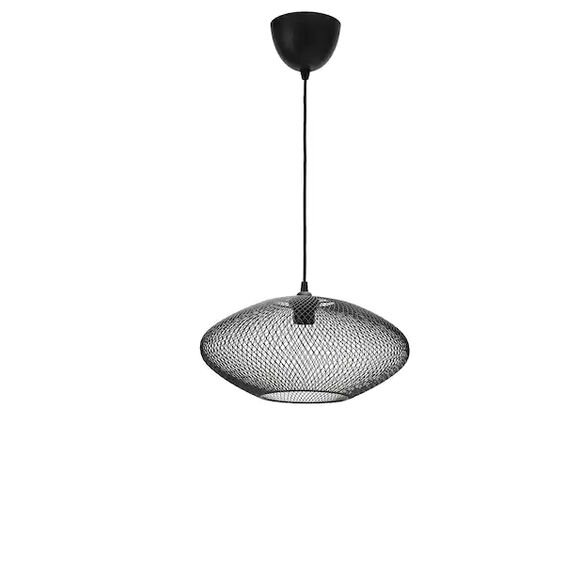
So, I searched for another alternate option that would mean I have a light fixture in my hand the SAME DAY. I am not fooling around here. After finding something that fit the bill from IKEA, I was able to order online and pick it up at the store. Cue the sigh of relief!
Here’s the fixture:
For the light fixture, I wanted something modern that I could put my own spin on, but that could also be swapped out easily.
Now, this fixture is not what I wanted right off the shelf, but I saw the potential in it and here’s what I planned to do:
-
Lightly sand the exterior of the fixture (normally this might have been necessary, but in this case it was not, so I didn’t)
-
Apply two coats of Satin Bronze spray paint (I had this on hand for my latest DIY)
-
Possibly weave some sisal rope through the openings to add texture and get closer to my original vibe
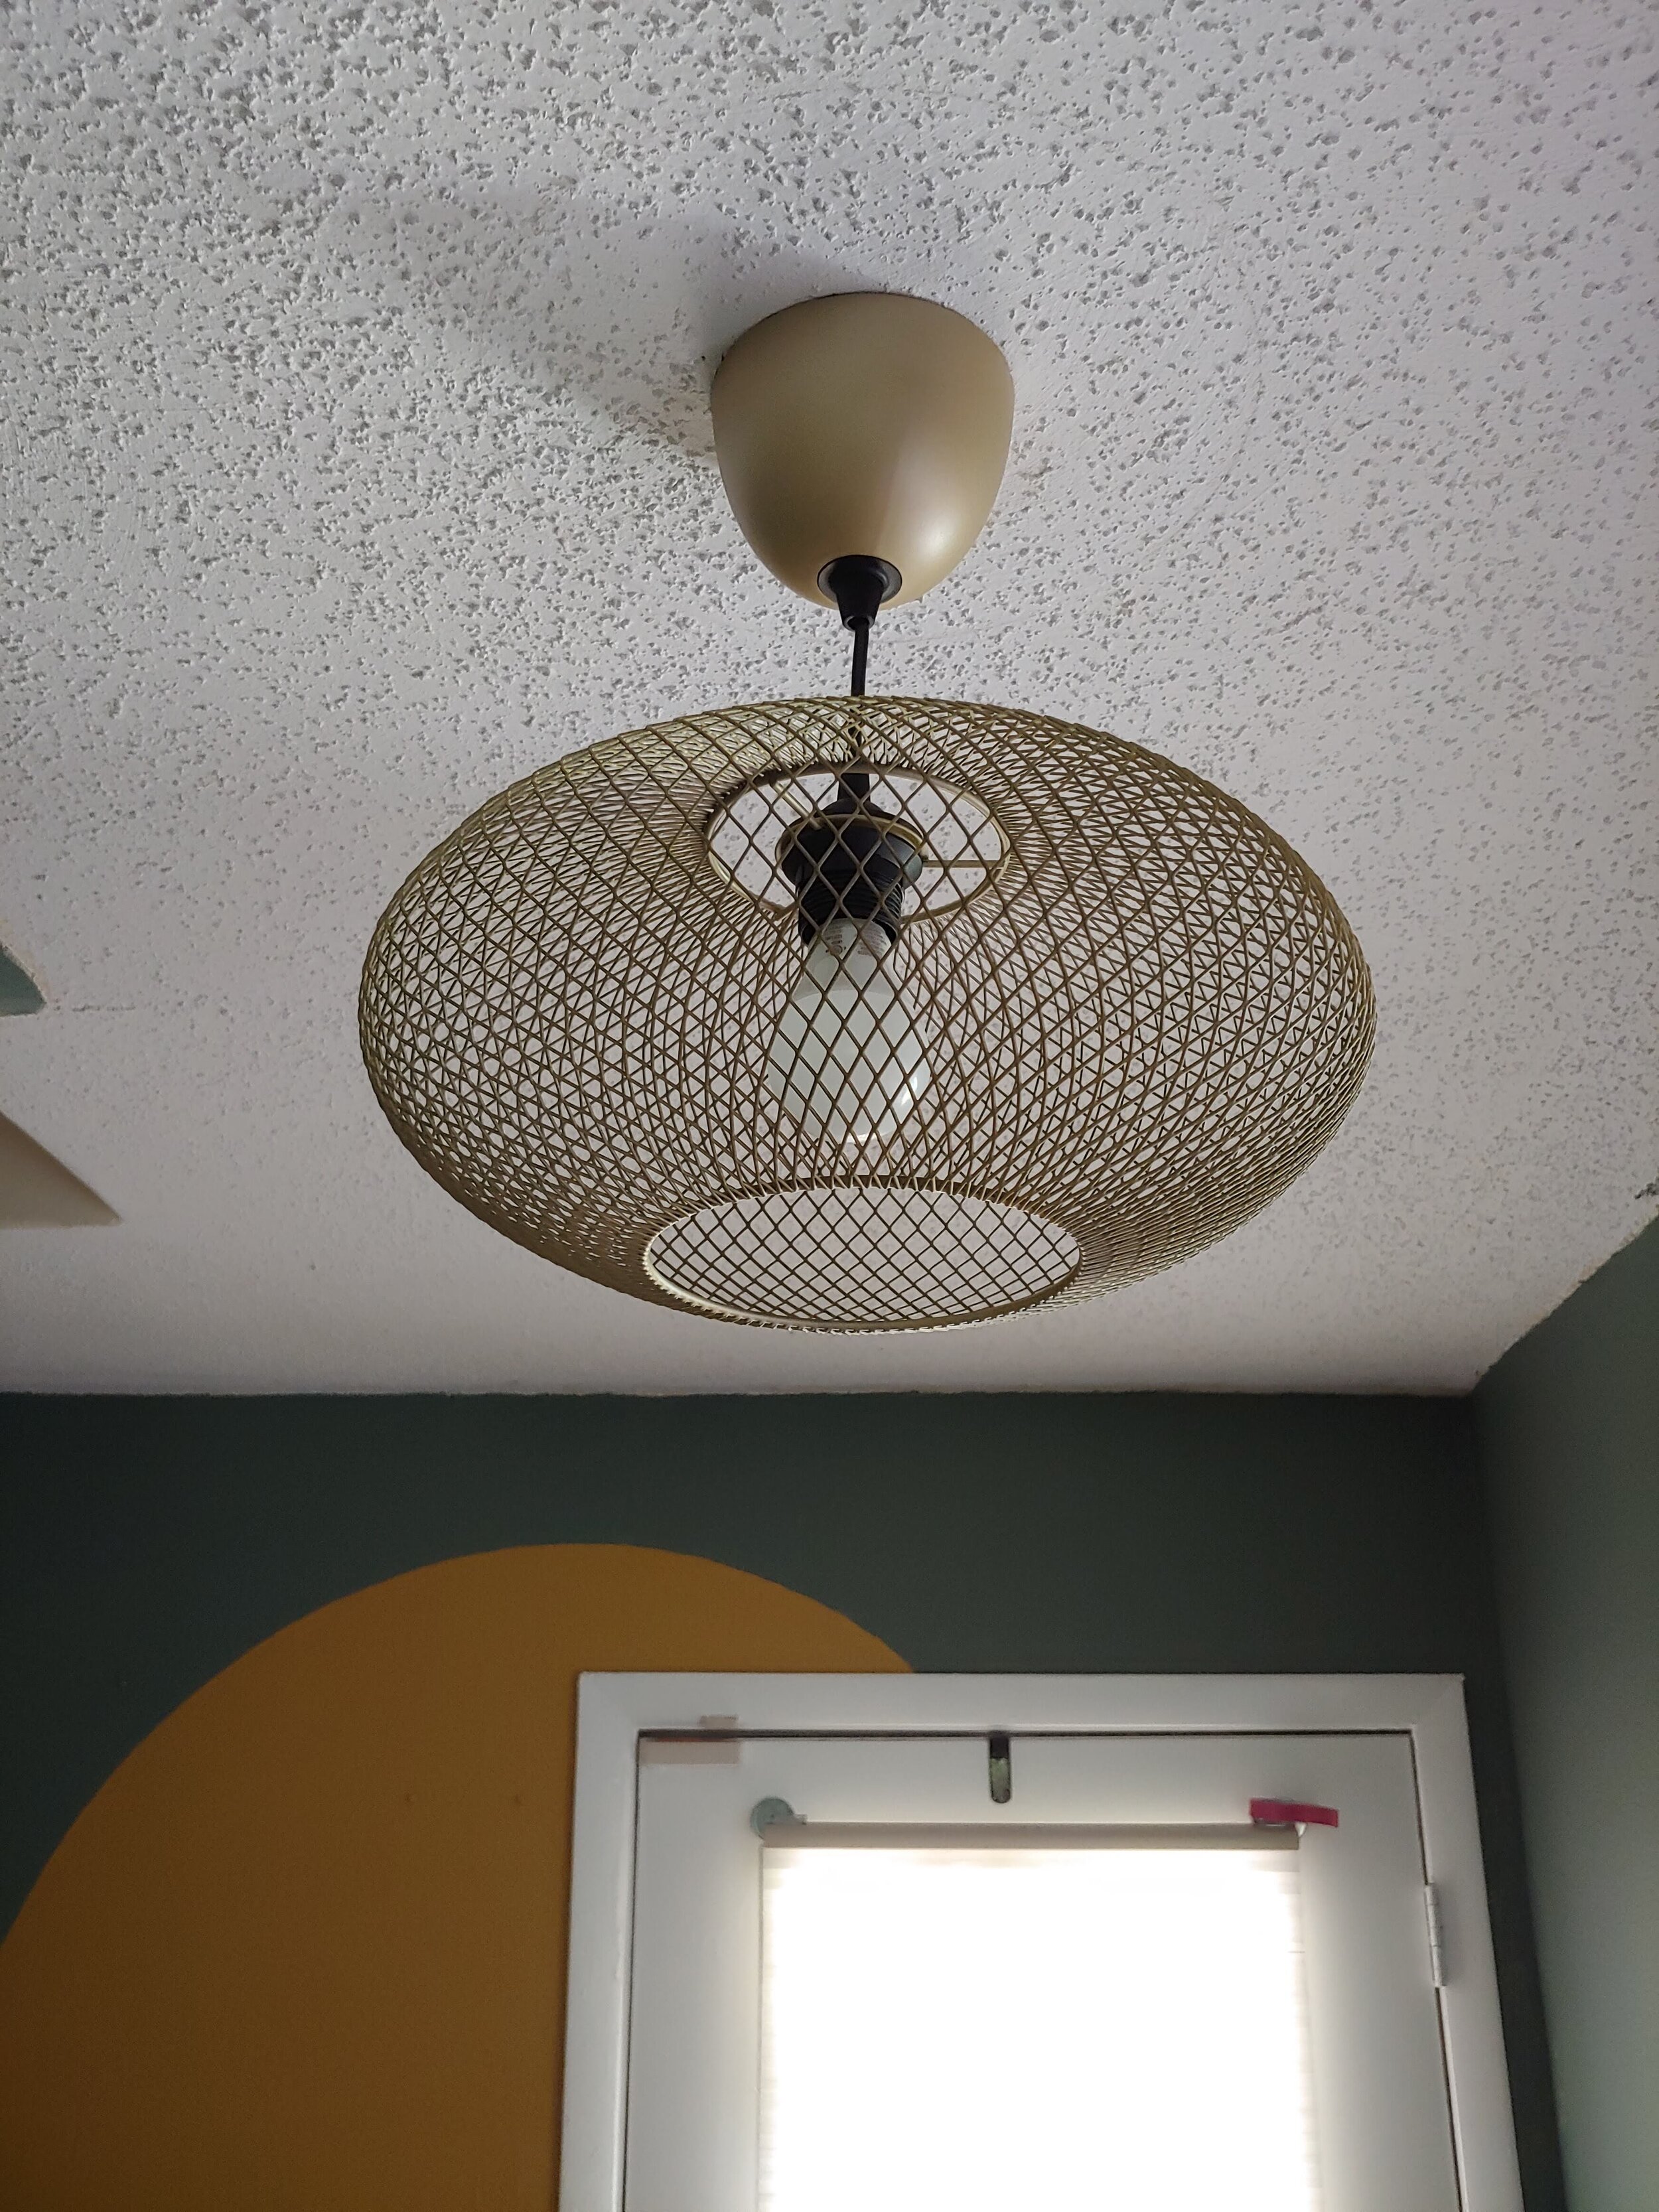
After doing some searching for another project, I found another color that I liked better in this instance. I decided to use Rustoleum spray paint in Sunlit Bronze.
The spacing of the mesh will allow me to weave the sisal rope through, however; the fixture is designed in a way that I can remove the shade easily. With that in mind, I’m going to leave it painted for a few days to decide whether I want to weave into it or not.
During week 5, I ordered the runner that will fill the entryway space, and we also managed to get the light fixture installed. I’m so very thankful my incredibly patient husband installed it for me!
I began really digging into the door design for the closet. The downside of the current door is primarily that when it’s open, the doorway becomes blocked. To solve that problem, I first thought of accordion doors of some sort, however, I know how rough my kids can play and they would likely get broken in a short amount of time. I really wanted something that divided the door in half to allow for passage by when the closet is in use. I did a search on Pinterest for DIY bifold doors, and found a project from one of my favorite YouTube channels.
This project is an oldie, but goodie from Shara at Woodshop Diaries. I fell in love with this door design. Now, I think I’m going to combine the look that I have been envisioning using paint, and do something that I believe is going to be really cool. I love playing on the architecture, so I’m going to incorporate slats, along with the arch of the French doors since a glass insert would be asking for a disaster – at least right now. I’ve been so inspired by others participating in the challenge!
Picture this – a small set of French doors, wood slats to make up the arch details and new hardware to tie into the design.
I’m still working on the design in SketchUp.
Can I just say…I am by no means a muralist. The stairwell wall concept has changed dozens of times now, but I’m going to let it be the main wall color for now as I don’t want to take away from the main focal point of the entry.
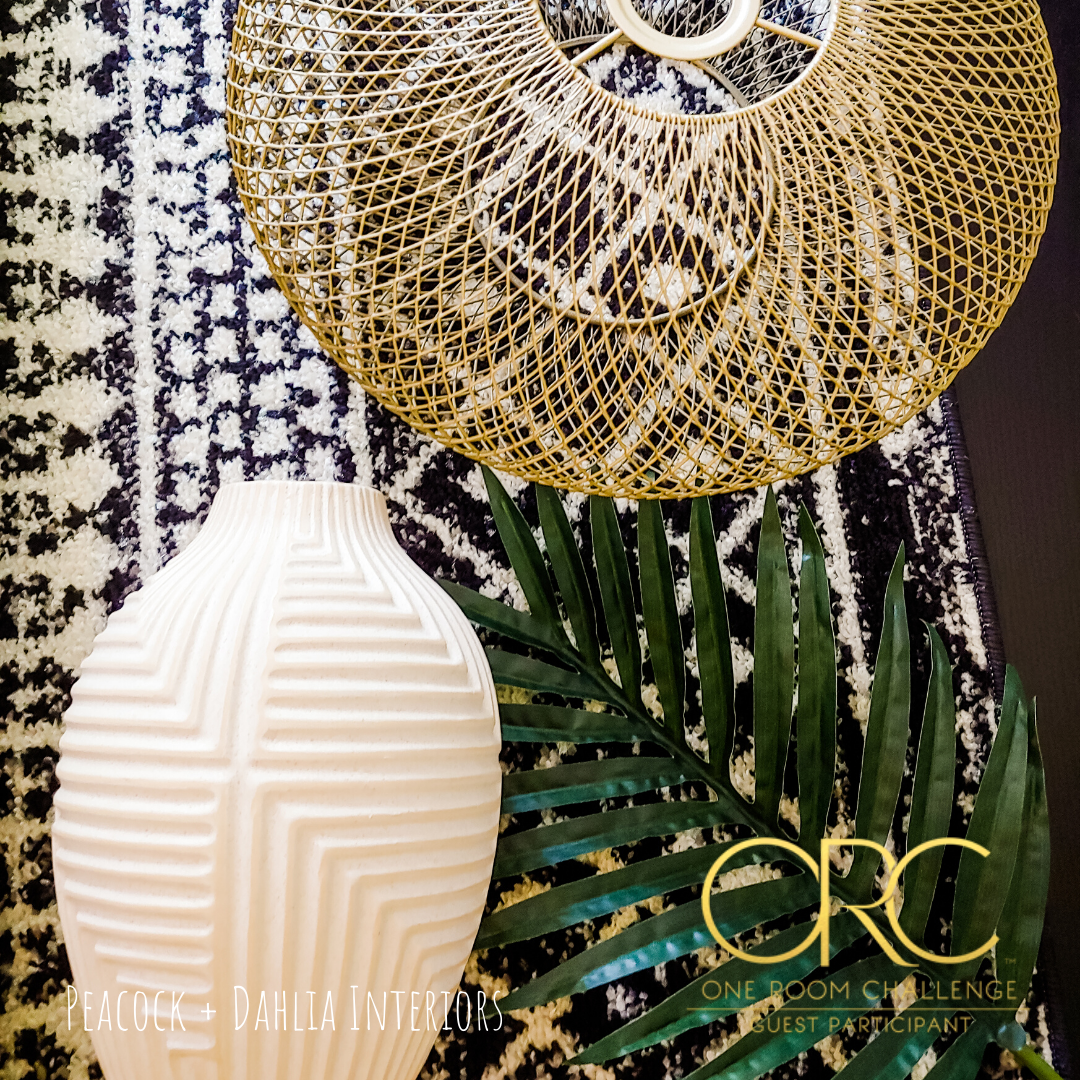
I also seem to have this inherent desire to put some sort of wood accent on the wall, but the design I found was not hubby’s style at all. I was staring at this vase one day, and was inspired by its simplicity. The way the texture is applied in multiple directions, but has an air of symmetry.
That texture!
The storage idea for the wall opposite the closet needs to have a very small footprint. The wall is cut out a bit because of the adjacent archway, however that does NOT make the available space any wider. Our entry is literally four feet wide. Both my husband and I have come up with varying ideas of what to use there, so while it is likely to change, we are getting very close to that final design that fits the bill for what we need and want.
One thing is for sure though, it’s going to be DIY and we’re going to use a product that we’ve been wanting to try for some time now. I don’t know who is more excited at this point!
This was my alternate lighting after the initial concept didn’t work out
Manufacturer: Silverwood
My altered IKEA fixture
Here’s what’s left on the to-do list:
-
Cut, finish, and install wall storage for wall across from closet
-
Refinish existing closet door/replace with new design
-
Storage for inside closet
-
Install rug
-
Finish painting stairwell wall
-
Install artwork
-
Install new front door (might have to wait, dependent on budget)
Who’s excited for the reveal soon?? I know I am!
Cheers!
See ya next time!
Check out more amazing projects on the ORC Blog!
Previous Post
Next Post
Not sure where to start?
Get Catherine's complimentary home tips here!
build your furniture investment: the workbook
SHop Our favorite Collections online
how to combine textures for a balanced home
For more of our latest projects, follow along on instagram at @peacockanddahlia
©Peacock & Dahlia 2025 | design by tonic + Sophia STudio | photos by Sophia Studio + Elevae
Intentional Design for Soulful Spaces
virginia beach, va


+ Show / Hide Comments
Share to: