Fall One Room Challenge: Week Two: Modern Organic Living
If this week had an alternate title, it would be: Bye Bye Blue, Hello Neutral!
Thank you so much for joining me as we wrap up the second week of the Fall 2020 One Room Challenge!
If you’re just tuning in, go check out my post from Week One here.
Thanks again to our wonderful sponsors for continuing this fun collective effort!
This week was all about painting – and most importantly, getting rid of the light sky blue trim that was still on the window trim from my Coastal days. It was very satisfying to take it to white (Alabaster by Sherwin Williams). As for painting around the wall brackets, it was a a success! I took my time and taped very carefully to be sure not to get any paint on those brackets that we poured a lot of our time into. I decided to drape a drop cloth over them as well to help protect from paint splatter in addition to taping around them. I found that I liked the Scotch Blue tape better for this application as it gave me a stronger hold, which didn’t require me to re-press the tape cleanly before the next coat. I mostly painted around early morning and during the designated TV time for my kids. This allowed me to give the paint time to cure a bit and for the lighting to change so I could be sure everything looked great. To make it easier (because I do have two toddlers) I actually split the room into three parts.
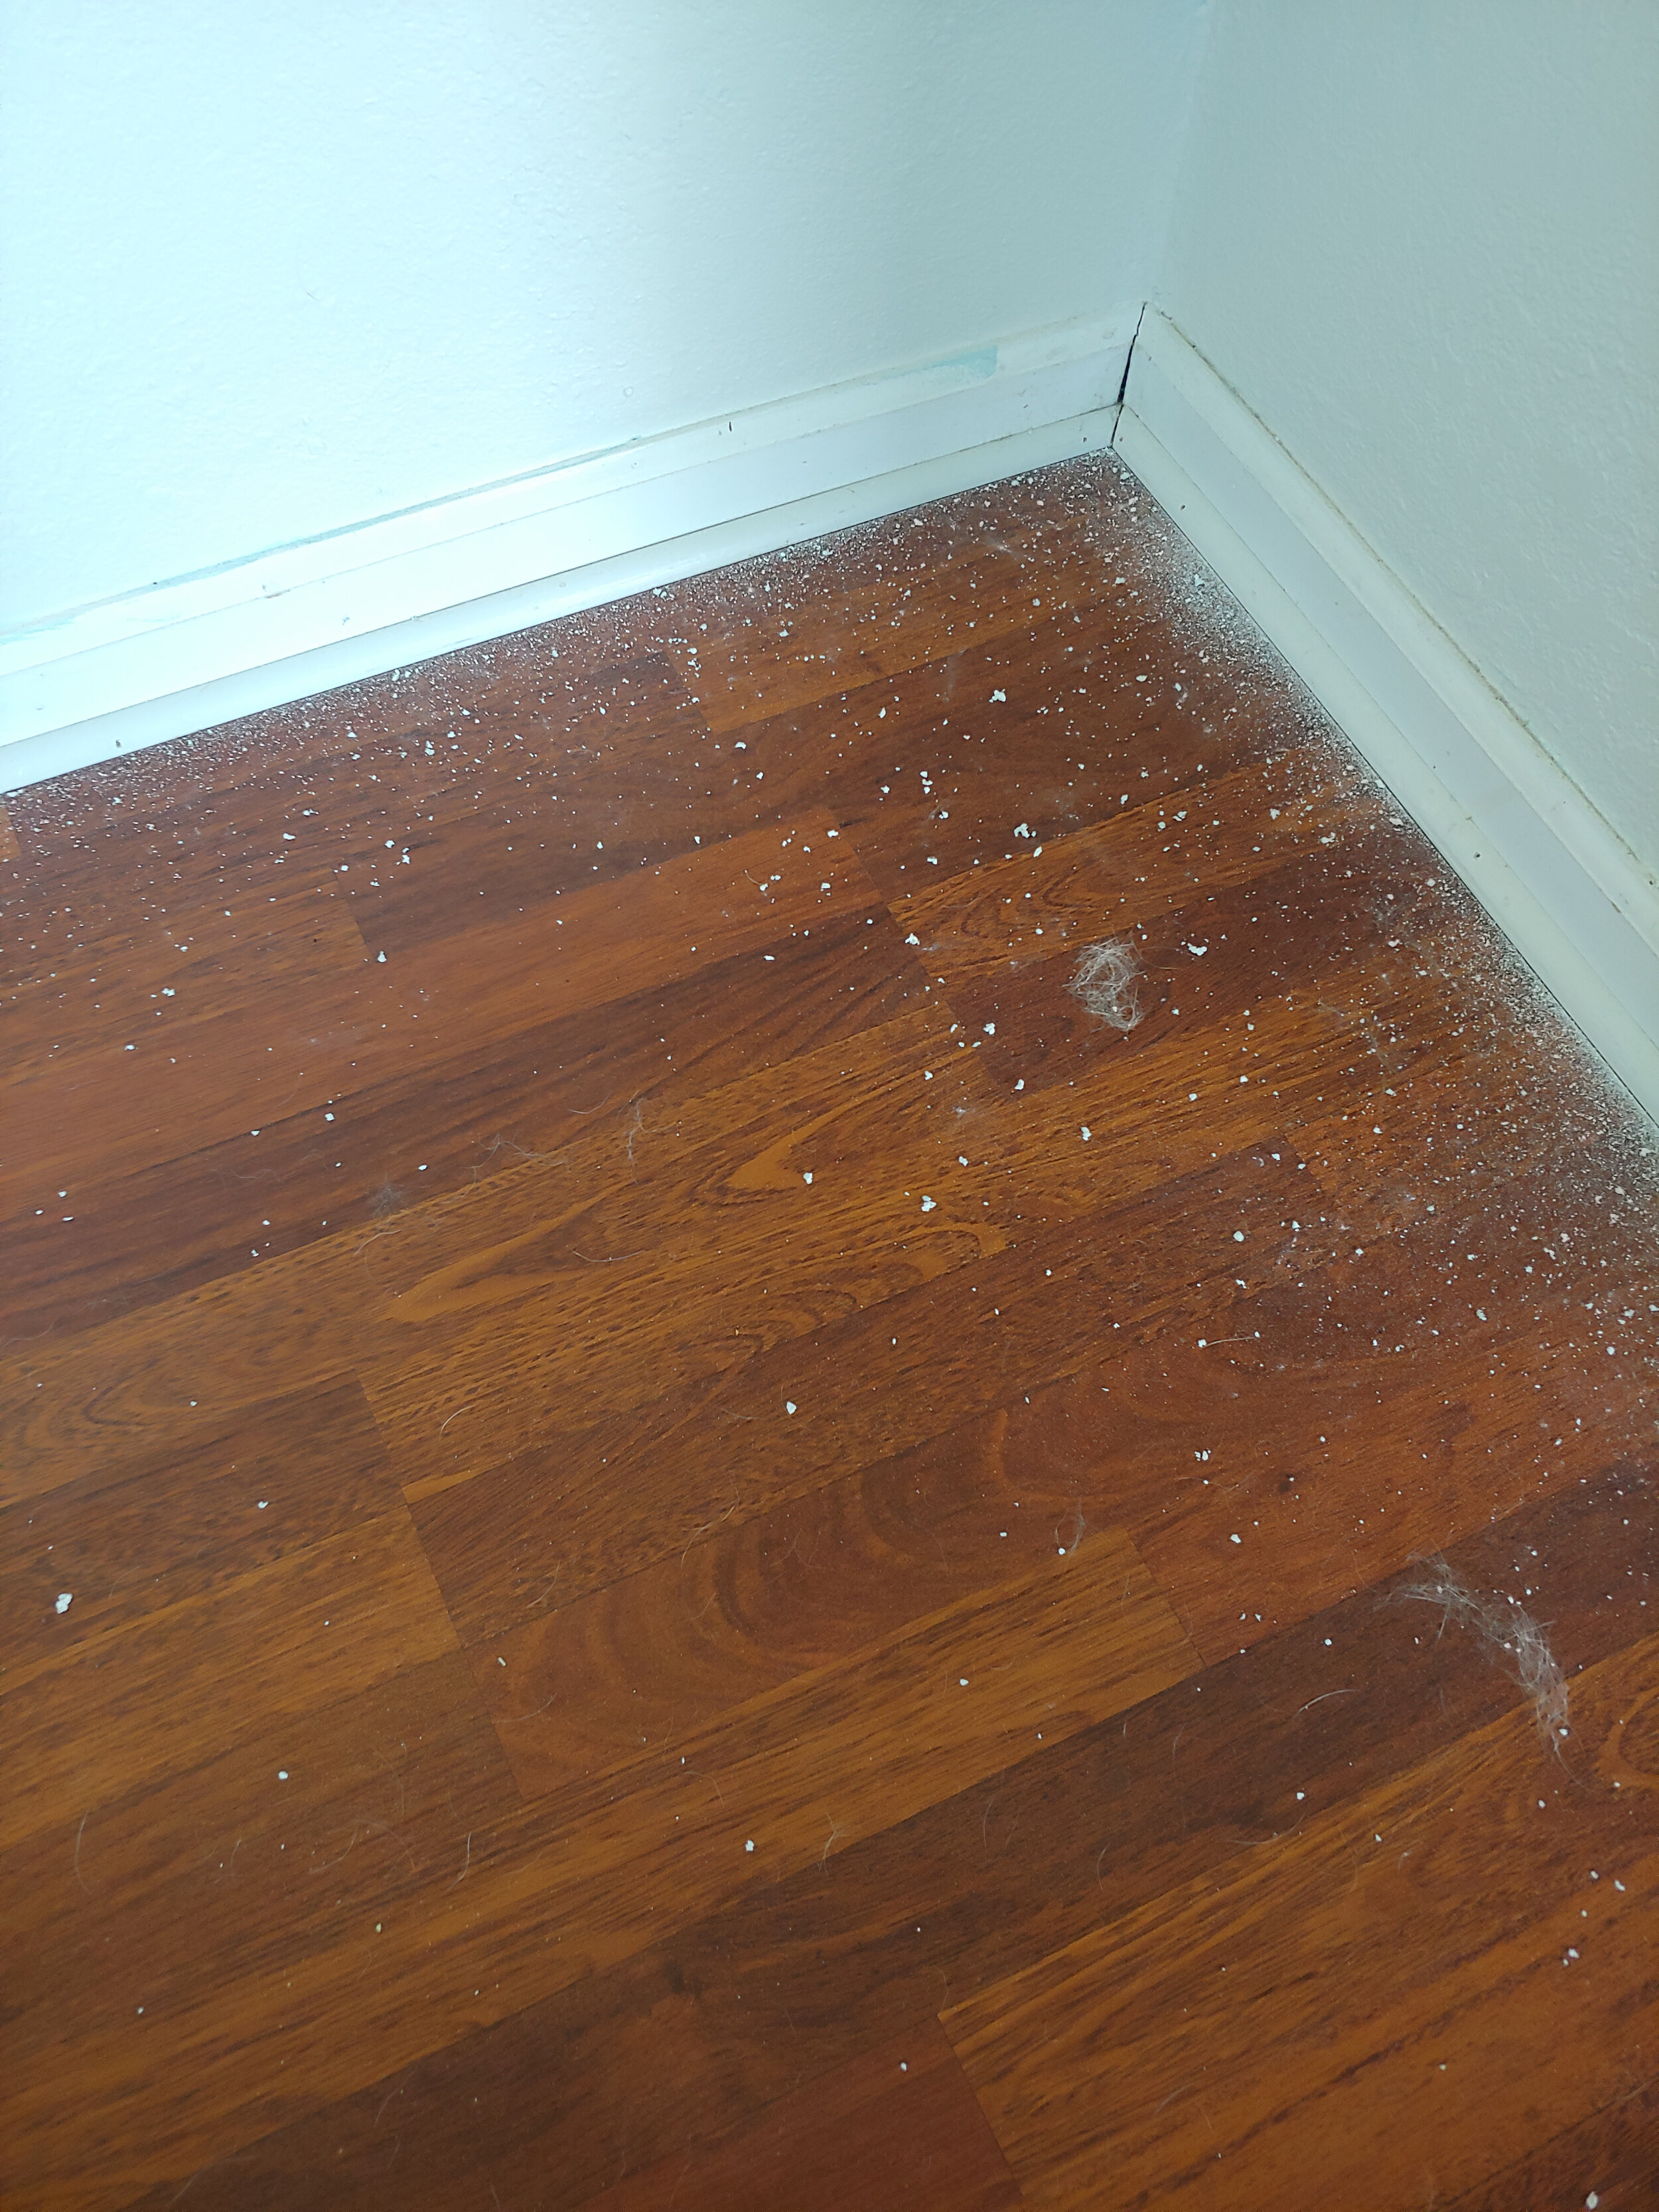
One thing I chose to do differently this round, was to tape the ceiling. Yep – you heard that right. I usually free-hand my painting with great success, but after some… strong encouragement from my hubby, I used a flat head screwdriver to remove the popcorn just a bit where the ceiling and wall connected to scrape a flat line that would ensure a clean taping line. I’m hooked! My son said I was “making crumbs” haha! That’s pretty much what it looked like too! I used a spare bench brush to sweep the area off before I taped.
Working the room in segments really helped with this week too; by choosing to do the arch walls first, it made it really easy to assess the color…and WOW! I had used this color with clients before, so I knew how it performed, but having it in my own home was simply amazing. It immediately felt so much brighter and warmer and I loved how the color helped my plants really “pop”!
The “crumbs” from the ceiling – it was so funny when he said that!
The next segment of this week, and my first DIY for this project is the blanket ladder. I drew it up quickly in SketchUp and asked my sweet hubby to get the (2) 1×2’s I needed for the side rails. I wanted poplar for this one since I already had the poplar dowel. I actually love the natural green tint to the wood. While it may not be for everyone, I like it and it’ll be another great earthy accent for our living room.
Get the super simple plans here.
My running checklist:
✅Ordered curtain rod (to arrive today)
✅Ordered wall clock, pillow covers and inserts from IKEA DONE
✅Wall color DONE
✅Trim color DONE
⬜ DIY Coffee table plans
⬜ Plant stand
⬜ Make coffee table
⬜ New rug?
⬜ Decorate shelves
⬜ Caulk and paint baseboards
⬜ Install stools and new storage baskets
⬜ Add soft & cozy lighting for the shelving wall
As you can see, there’s plenty more to do! Thanks for following along! If you enjoyed this post, check out a few others, and don’t forget to subscribe so you get the next post straight to your inbox!
Cheers!
See ya next week for more DIY adventures!
xo, Catherine
Previous Post
Next Post
Not sure where to start?
Get Catherine's complimentary home tips here!
build your furniture investment: the workbook
SHop Our favorite Collections online
how to combine textures for a balanced home
For more of our latest projects, follow along on instagram at @peacockanddahlia
©Peacock & Dahlia 2025 | design by tonic + Sophia STudio | photos by Sophia Studio + Elevae
Intentional Design for Soulful Spaces
virginia beach, va


+ Show / Hide Comments
Share to: